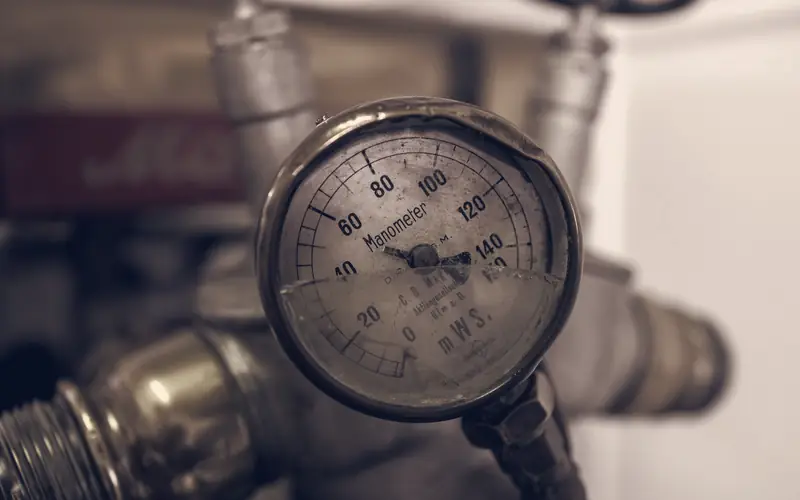
What Makes a Low-Pressure Appliance Different
40 CFR 82.152 defines a low-pressure appliance as one using a refrigerant with a liquid-phase saturation pressure below 45 psia at 104 °F. In the field that usually means large centrifugal chillers in commercial buildings, hospitals and industrial sites, running on refrigerants such as R-123, older R-11 or newer low-GWP options like R-1233zd(E) and R-514A.
Because the evaporator runs below atmospheric pressure, a leak doesn’t push refrigerant out on the low side. It pulls air and moisture in. Much of Type III flows from that one fact.
Evacuation Level
Before opening a low-pressure appliance for major service or disposal, Table 1 in 82.156 requires evacuation to 25 mm Hg absolute, for recovery equipment made before or after 15 November 1993. Note the unit: this is an absolute pressure in millimetres of mercury, not inches of vacuum like the Type II levels. The EPA 608 Recovery and Evacuation Requirements page shows the levels side by side.
For a non-major repair not followed by evacuation, a low-pressure appliance must be pressurised to no more than 0 psig before opening. Where the refrigerant boils above 85 °F at atmospheric pressure (such as R-123), use heat to raise the pressure as far as possible; nitrogen may be used for the rest. Where it boils at or below 85 °F, don’t use methods such as nitrogen that would need purging later (82.156(a)(1)).
Leak Testing a Low-Pressure System
You can’t leak-test a vacuum with bubbles. To find leaks, raise the system pressure:
- Use controlled hot water circulated through the tubes, or heater blankets, to raise the refrigerant pressure.
- Don’t exceed 10 psig. Most low-pressure chillers have a rupture disc on the evaporator set at 15 psig, and going too high can burst it and release the charge.
- Where heat alone isn’t enough and the rules allow, nitrogen can raise the pressure further, but the nitrogen must later be removed by purging.
- Check tube leaks with a hydrostatic tube test of the water side, since leaks between water and refrigerant contaminate the charge.
Signs of a Leak
The classic sign is excessive purge unit operation: if the purge runs often or discharges a lot of air, non-condensables are getting in. Rising moisture in the refrigerant (shown by a moisture indicator) and higher-than-normal condensing pressure are other clues.
Purge Units
A purge unit pulls vapour from the top of the condenser, where non-condensables collect, separates the refrigerant and returns it, and vents the air. Modern high-efficiency purge units release very little refrigerant with the air. Know that:
- Purge units are needed because the system operates in a vacuum.
- The purge vent discharge counts toward refrigerant loss; high-efficiency units keep that loss low.
- Purging happens from the condenser, because that’s where air accumulates.
Recovery Procedure
- Recover the liquid first, from the evaporator’s liquid drain or charging valve. A large chiller can hold hundreds of pounds of liquid, and removing it first is far faster.
- Then recover vapour. A low-pressure system still holds a lot of refrigerant as vapour, so vapour recovery is essential to reach 25 mm Hg absolute.
- Keep water circulating through the chiller tubes during recovery to help prevent freezing as pressure and temperature drop. Draining the water or heating it are also used where the procedure allows.
- Watch the recovery unit’s condenser. Many units for low-pressure systems use water-cooled condensers connected to the building water supply.
- After reaching the level, wait and watch. If the pressure rises, refrigerant is still boiling out of oil or pockets and you need to continue.
Oil should be heated before draining to drive out dissolved refrigerant, reducing emissions.
Charging a Low-Pressure Chiller
When recharging after a deep evacuation, introduce vapour first. Adding liquid into a deep vacuum makes it boil instantly, dropping the temperature in the tubes below freezing and possibly rupturing them. Once the pressure is high enough that the saturation temperature is above 32 °F, liquid can be added. Charge through the evaporator charging valve.
Leak Repair Rules
Low-pressure chillers are often large enough to fall under 82.157. For appliances with 50 lb or more of ozone-depleting refrigerant, the trigger rates are 10% for comfort cooling, 20% for commercial refrigeration and 30% for industrial process refrigeration. Leaks must be repaired within 30 days, with verification tests afterwards. Read the EPA 608 Leak Repair Rules for inspection and reporting details.
Safety
- R-123 is a B1 refrigerant (higher toxicity, no flame propagation). ASHRAE Standard 15 requires equipment rooms to have a refrigerant monitor that alarms and starts mechanical ventilation.
- Plant rooms are enclosed spaces; a large leak can displace oxygen. In an emergency, self-contained breathing apparatus may be required.
- Never use an open flame near refrigerant; decomposition products are toxic.
The Refrigerant Safety and Cylinder Handling guide covers the PPE and cylinder rules shared with other sections.
Study Checklist
- Define low-pressure (below 45 psia at 104 °F).
- State the evacuation level and its unit (25 mm Hg absolute).
- Explain why and how to pressurise with heat for leak testing, and the 10 psig and 15 psig figures.
- Describe what a purge unit does and what excessive purging means.
- Put recovery steps in order: liquid, then vapour, water circulating.
- Explain why to charge vapour first.
Then take the EPA 608 Type III practice test, which explains every answer with its source.
Common Exam Traps
- Units. 25 mm Hg absolute is not “25 inches of vacuum”.
- Direction of leaks. In a low-pressure system, air leaks in.
- Rupture disc. The disc is set around 15 psig; leak-test pressure stays at or below 10 psig.
- Liquid into vacuum. Never charge liquid first into a deeply evacuated chiller.
Numbers to Remember for Type III
- Low-pressure appliances: saturation pressure below 45 psia at 104 °F.
- Evacuation level: 25 mm Hg absolute.
- Pressurise for leak testing to no more than 10 psig, using hot water or controlled heat.
- Leak repair trigger for large commercial refrigeration is 20%; industrial process 30%; comfort cooling 10%.
- Rupture discs on low-pressure chillers are commonly set at 15 psig, which is why leak-test pressure must stay at or below 10 psig.
- Recover liquid first, then vapour, and circulate water through the tubes during recovery to prevent freezing.
Frequently Asked Questions
What equipment does Type III cover?
Low-pressure appliances, mostly centrifugal chillers using refrigerants such as R-123, R-11 and R-1233zd(E). These systems operate below atmospheric pressure on the low side.
Why do low-pressure systems need a purge unit?
Because the evaporator runs below atmospheric pressure, leaks let air and moisture in. The purge unit removes these non-condensables. Frequent purge operation is a sign of a leak.
What evacuation level is required for a low-pressure chiller?
25 mm Hg absolute, according to Table 1 in 40 CFR 82.156. The level is the same for recovery equipment made before and after 15 November 1993.
Why circulate water during recovery?
Removing refrigerant lowers the pressure and temperature inside the chiller. Circulating water through the tubes during recovery, or charging vapour first when recharging, helps keep the water from freezing and rupturing the tubes.